The Art Of Construction
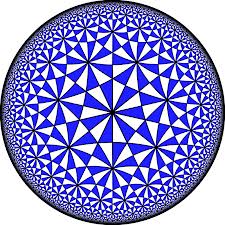
In this project, we learned about geometry and how it is used to make art and geometrical figures. Using only compasses and rulers each student recreated an image using circles, hexagons, and other shapes. To help us with the construction we completed a few papers that taught us about making ovals, angles, bisectors and other things. Using this knowledge we put that into our art piece to make it the best it can be. I loved this project because I always thought that creating images such as this one above were extremely difficult but with the right steps anyone can do it.
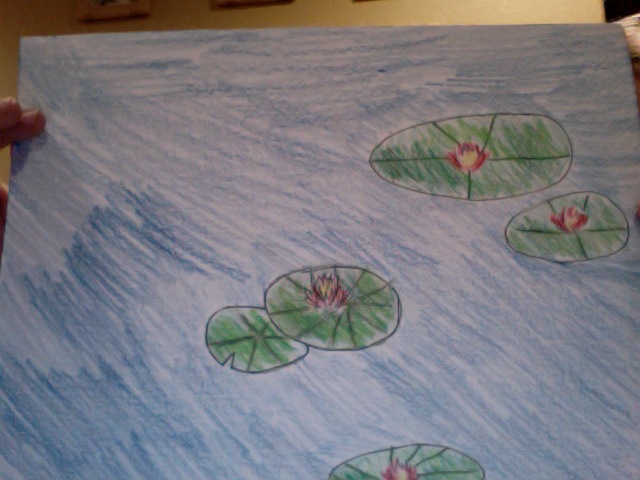
For Benchmark #1 each student chose an image that they would like to design and sketched it out on paper or the computer. The first sketch wasn't supposed to be extremely detailed but it had to show what your image is and what it represented. I decided to choose the image of two lilly pads because i felt that I could recreate the lilly pads with a lot of design and make them stand out. I also thought the flowers in the middle of the lilly pads would be fun to create and I could color them to make them stand out.
benchmark #1
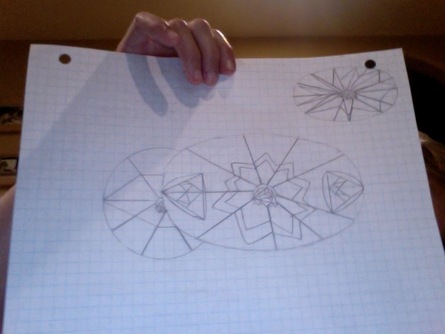
For benchmark #2, we created the first version of our image using only a compass and ruler. We incorporated the necessary requirements in the image and we created a list of steps we took to create the first version. We incorporated things such as hexagons, ovals, and circles add the the image and make it geometric. After we finished version 1, we created a second version with revisions for our final product.
How to create my image:
1. Create an oval in the center of the paper or canvas. To do this, create two medium circles touching each other in the center. Then pit your compass on the outside edge of one of the circles and place the compass to the radius of the second circle. Then without moving the compass move the lead above the circles and create a line. Do this above and under the circle. Then put your compass to the opposite side of the circle and create a line above and under again. Finally, place your compass at the meeting point of the two lines and connect the circles to make a oval. Do this for both sides.
2. Create a small/medium half circle on the edge of the oval on the bottom right. Create it as if the oval is overlapping the circle.
3. Then in the center of the oval and the circle, create a 6 sided hexagon. There may not be enough room to make it on the small circle so make a half hexagon
4. On each point of the hexagon create a small circle all the same size. Do this for the circle and oval. This will make a flower like design.
5. Your image is complete and add color if you want.
Benchmark #2 Version 1
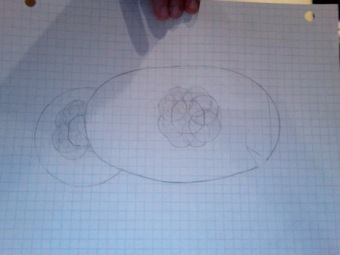
benchmark #2 version 2
For benchmark #3 we had to create our image in a way that can be presented such as a painting, model, or any other type of art. Our piece had to be an example of beautiful work and it had to show that if was constructed geometrically. I decided to do it on a canvas because I wanted to make it large and easy for people to see. I wanted everyone to see the flower design in the middle of the lilly pad. I used water color to paint it because it made it stand out and it made the image look complete and beautiful. The final piece turned out great and it is easy to see that it was constructed using a compass and a ruler.

If I could go back and redo this project, I would have chosen a different image to create. I feel like my image wasn't extremely detailed as some of the others were. I would have liked to make more things with the compass and incorporate more shaped. One success in this project was my use of water color for the final product. It really made the image realistic and made it stand out as beautiful work. Something that was difficult was the construction of my image. I found it difficult to create the flower piece in the center because my compass wasn't working well. In the end, it turned out ok and the flower piece looked great. If I could change something about the project I would have liked to have more time to create our image. I feel like I rushed in creating my image and could have used more time. One habit of a mathematician I used well was staying organized. On each draft I kept it very neat and organized so I could go back anytime and fix it. This helped my drafts improve because I could clearly see what need to be fixed and revised.
